Finally some new wood went into this boat. I took a day off last week and installed the new stem and keel. I don’t have a good picture but it certainly feels like we’re making some progress. The keel and stem are nailed from the bottom, and every hole has to be drilled for the copper screws as they are too soft to break into the oak.
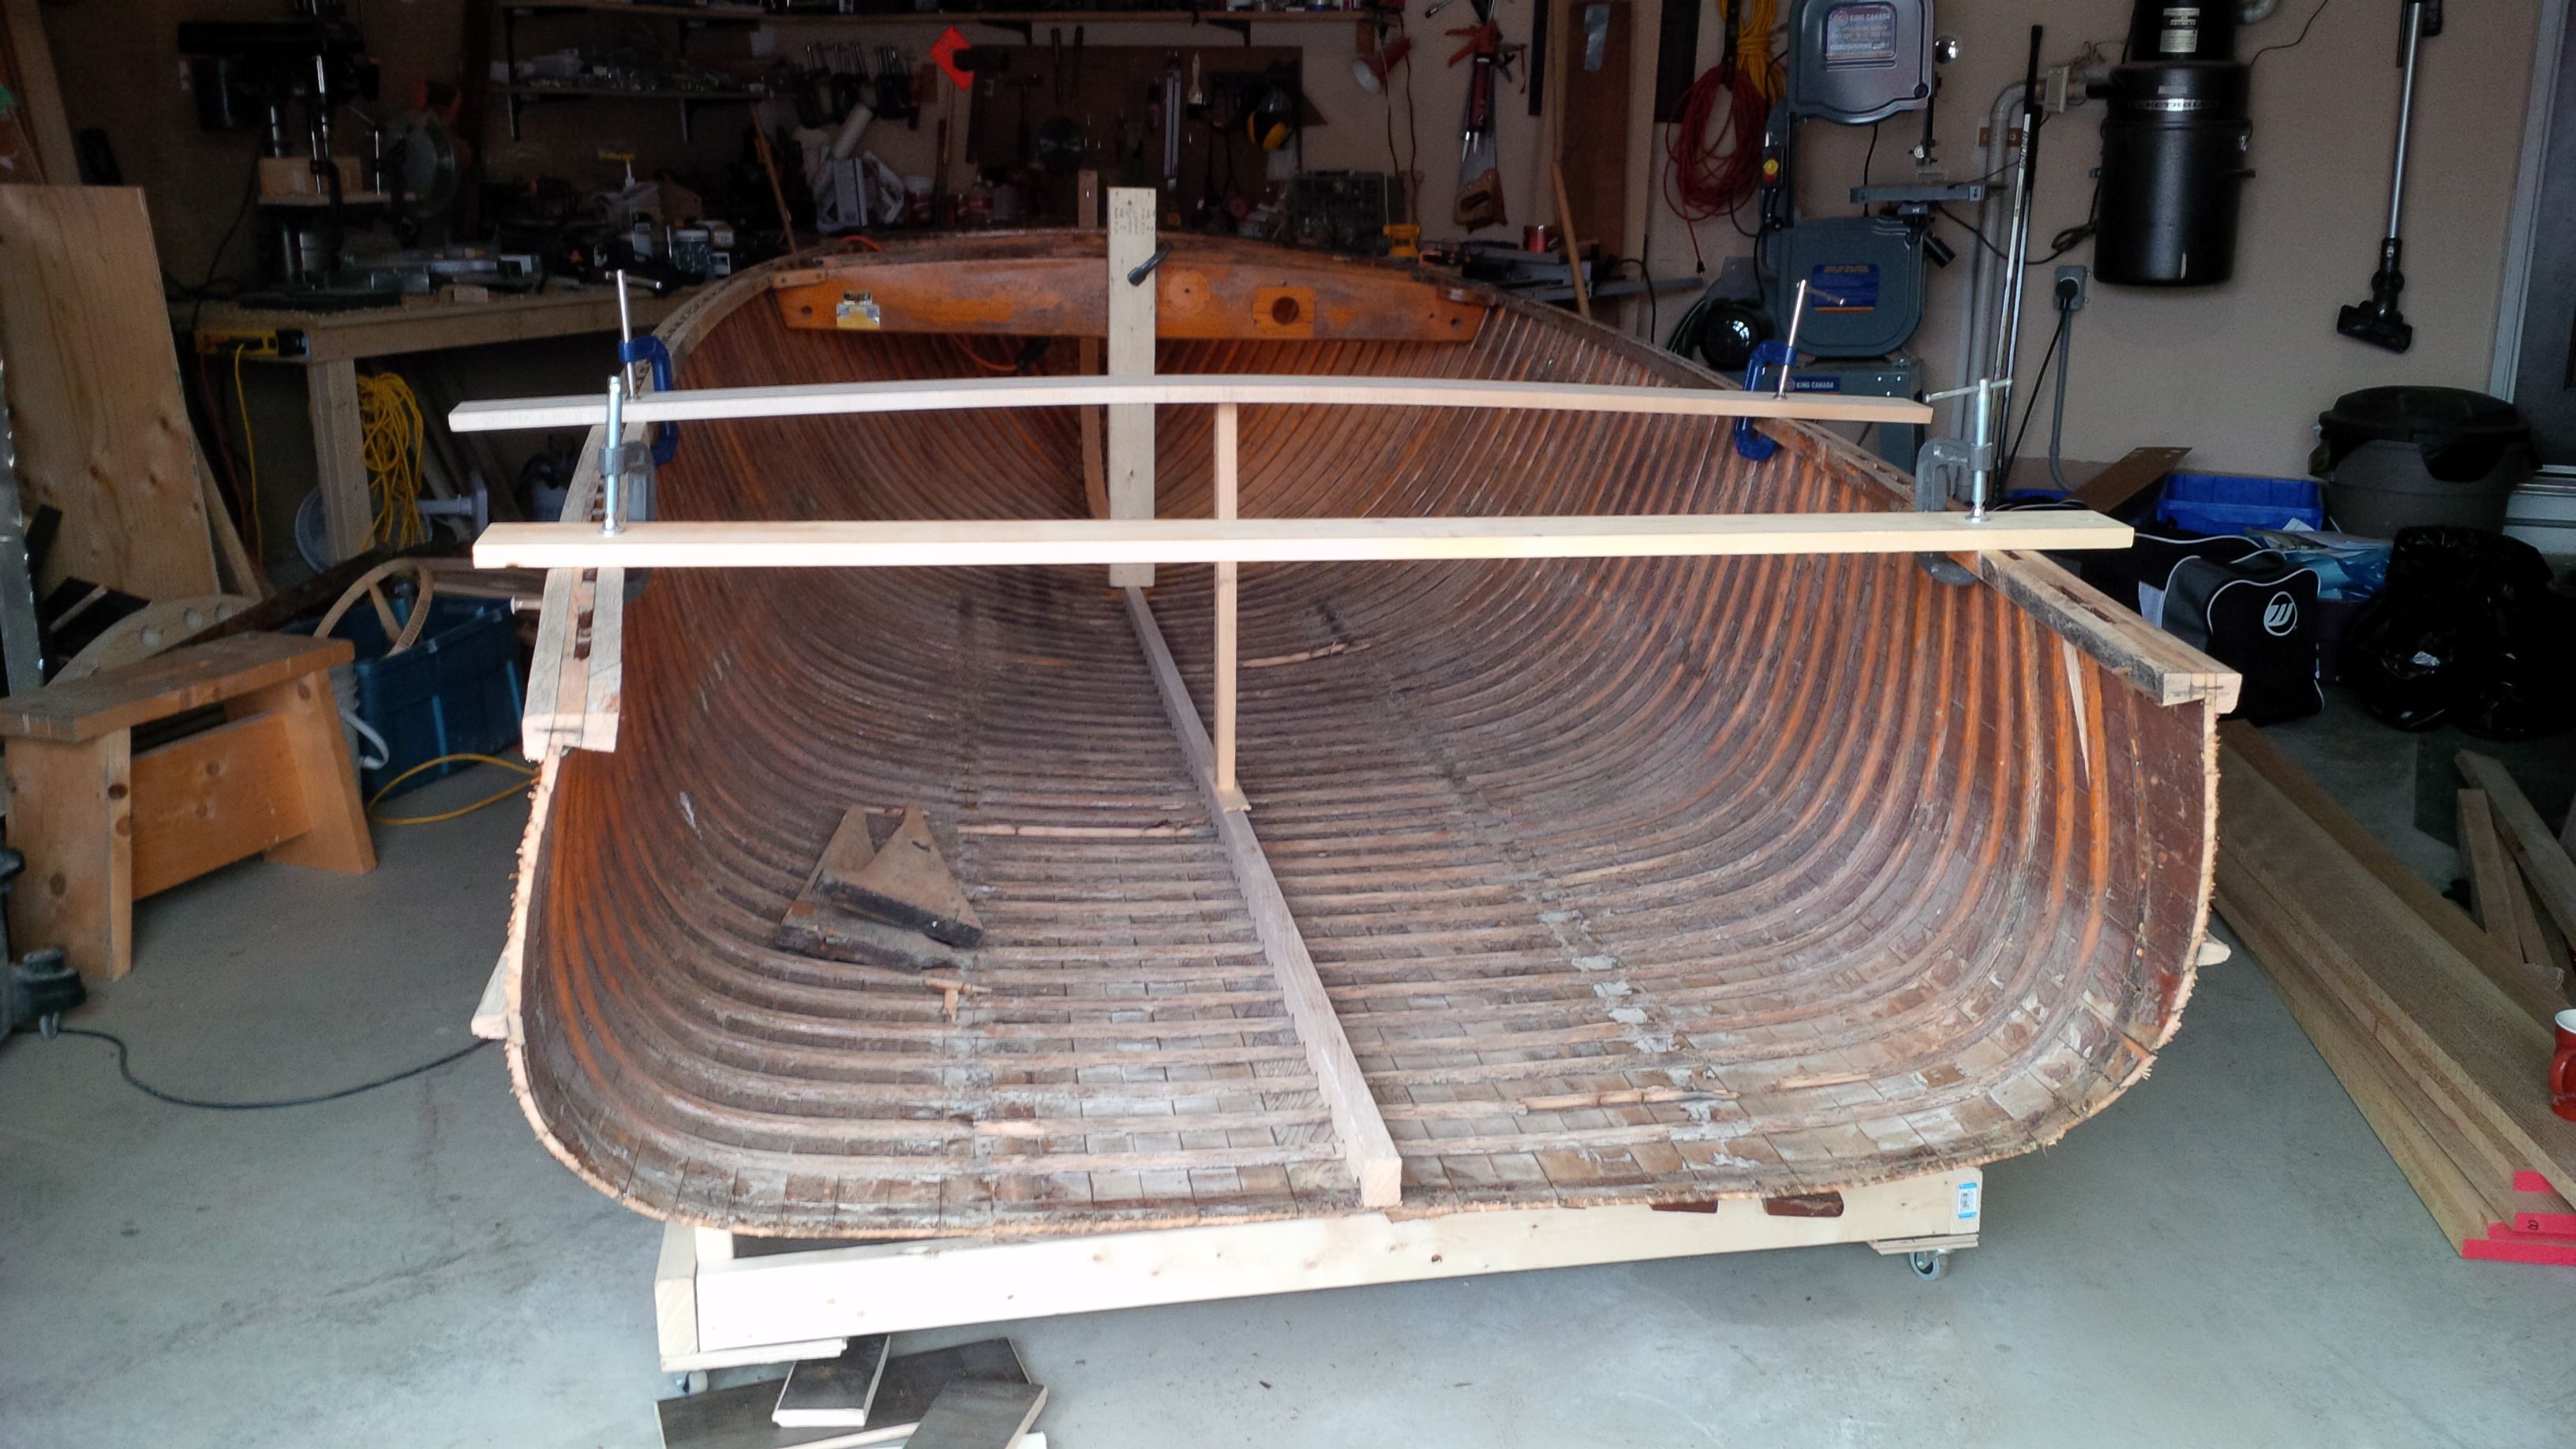 I removed the transom, as the boards nailed to it had been nailed a few too many times and rather than trying to fix the cheese grater appearance I just cut the boat 2″ shorter. This picture shows the missing transom, along with the freshly installed keel. The bottom of the boat is hogged quite badly, the supports are in an effort to keep the keel straight, and to prevent the boat from opening up too much.
The transom is old, the top is curved a bit, and there are some big checks in it, but it’s still structurally sound. After some thought and sanding I decided to reinstall it rather than build a new one. I’d much rather keep what I can, else I may as well be building a new boat.
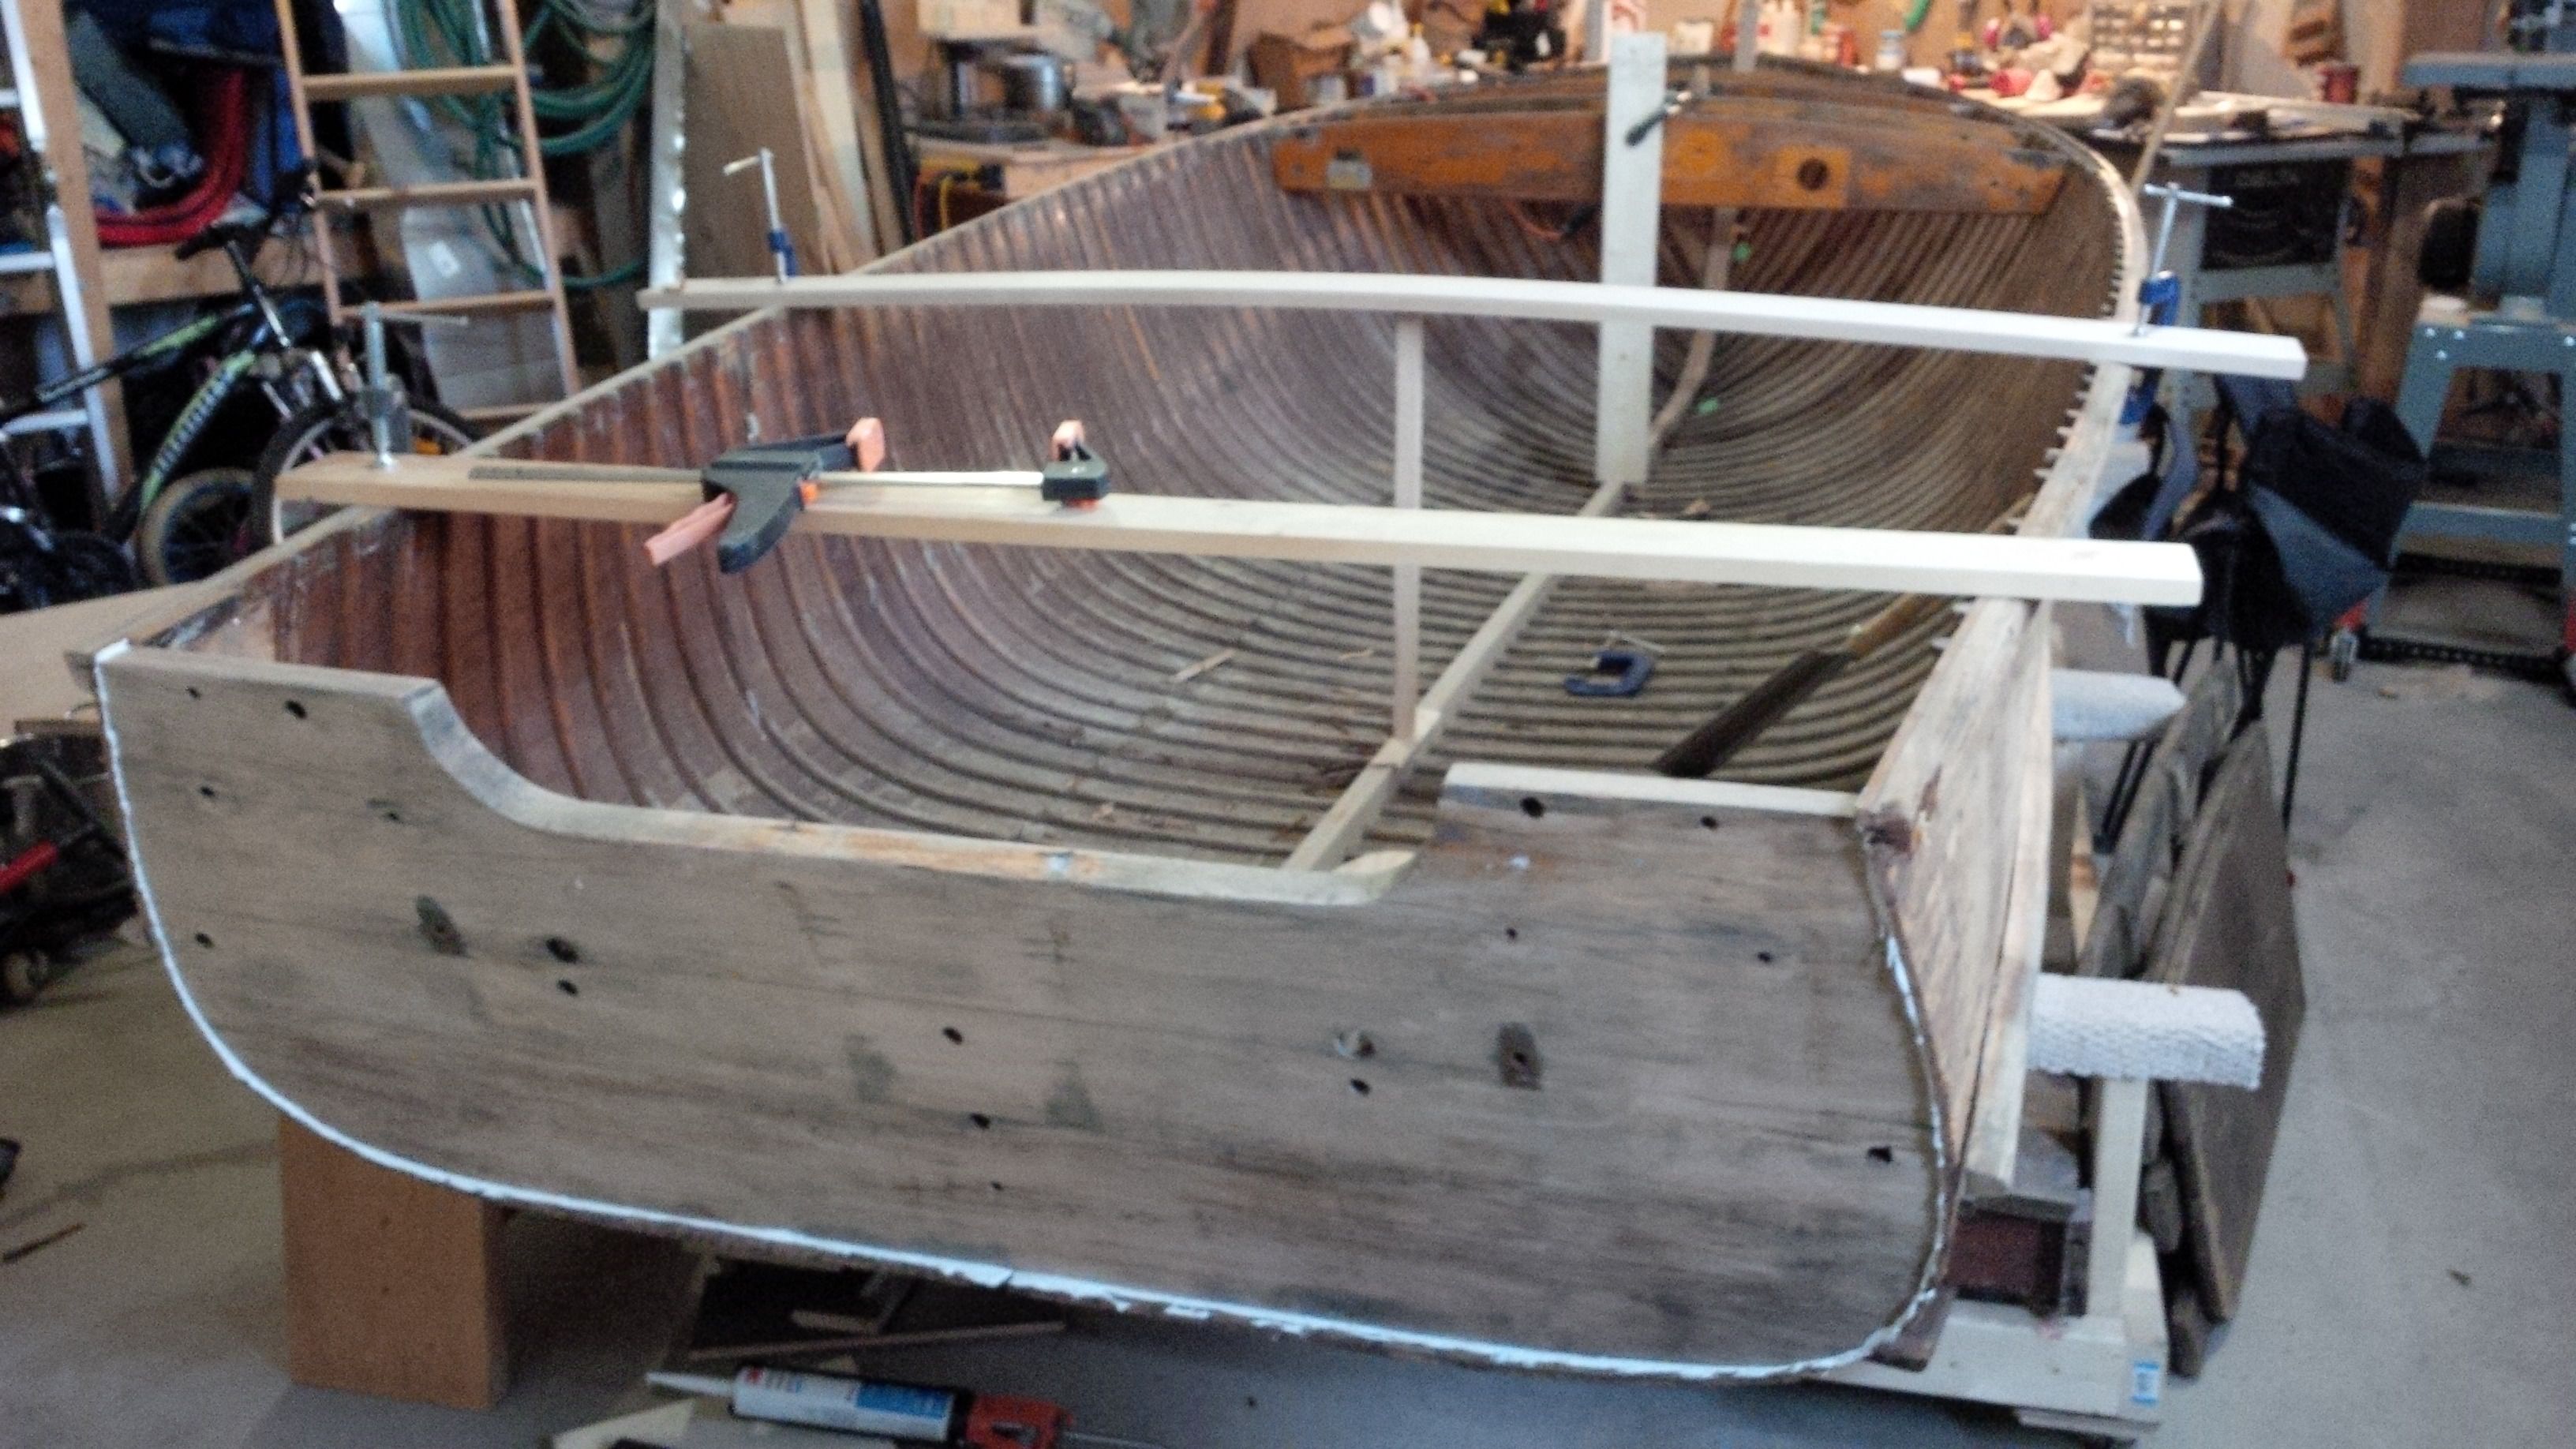
And this afternoon the transom was reinstalled again. Because the boat is a wee bit shorter, the gunwales sit a bit higher than the transom instead of flush, but that will be sorted out later. All that’s left on the transom is to cut the boards flush and clean up the sealant.
I sold the old trailer, which wasn’t worth the effort (to me) to rebuild. The father of the purchaser owned a few cedar strip boats many years ago and had a few seats left in his garage. He was so interested in this project that he brought them over in the off chance that I could use them, or at least reuse the wood for some of the interior. I love it, I’d much rather use wood that came from a cousin boat than new wood from the lumber shop.
My brother has the motor apart in his garage, it’s a 1965 33HP Evinrude. Surprisingly all the parts we needed are still available, although some have manufacturing dates from the 80’s. They’ve all arrived so the rebuild can begin.
Next up is removing the ribs and replacing them, half of them at a time. Removing them means splitting them with a chisel, and then prying out the nails. The copper nails were clinch nailed, meaning they were nailed from the outside all the way through the rib and bent to make a “J” shape, and they need to be cut to get them out. This is a very large task, but I have some willing and not-so-willing volunteers to help out.